
How to plan the perfect rehearsal dinner.
Rhodes Blake
Step 1.
Set the date and time: Choose a date and time that works for the majority of your guests and ensures enough time for the rehearsal.
Additionally, it’s important to consider the wedding schedule and make sure the rehearsal dinner does not conflict with any pre-wedding events or activities. It’s typically held the night before the wedding.
Step 2.
Determine the budget: Decide on a budget for the dinner and allocate funds for each aspect of the event, such as food, drinks, and decorations.
It’s also important to prioritize your expenses and allocate funds for the most important aspects of the event first. For example, if food is a top priority, allocate more funds for that and consider cutting back on decorations or entertainment. Also, don’t forget to factor in any miscellaneous expenses, such as taxes and gratuities.
Step 3.
Choose the venue: Select a venue that matches the desired ambiance and accommodates the number of guests.
Consider the location and accessibility for your guests, as well as the parking situation. Make sure the venue has all the necessary amenities, such as tables, chairs, and a kitchen for the caterer, if needed. It’s also a good idea to visit the venue in person before making a final decision to ensure it meets all your requirements and expectations.
Step 4.
Decide on the guest list: Determine who to invite to the rehearsal dinner, typically close family members and the wedding party.
It’s common to invite immediate family members, members of the wedding party, and out-of-town guests. However, the guest list is ultimately up to the couple and can be tailored to their specific needs and preferences. It’s important to consider the overall size of the wedding and the desired intimacy of the rehearsal dinner when determining the guest list.
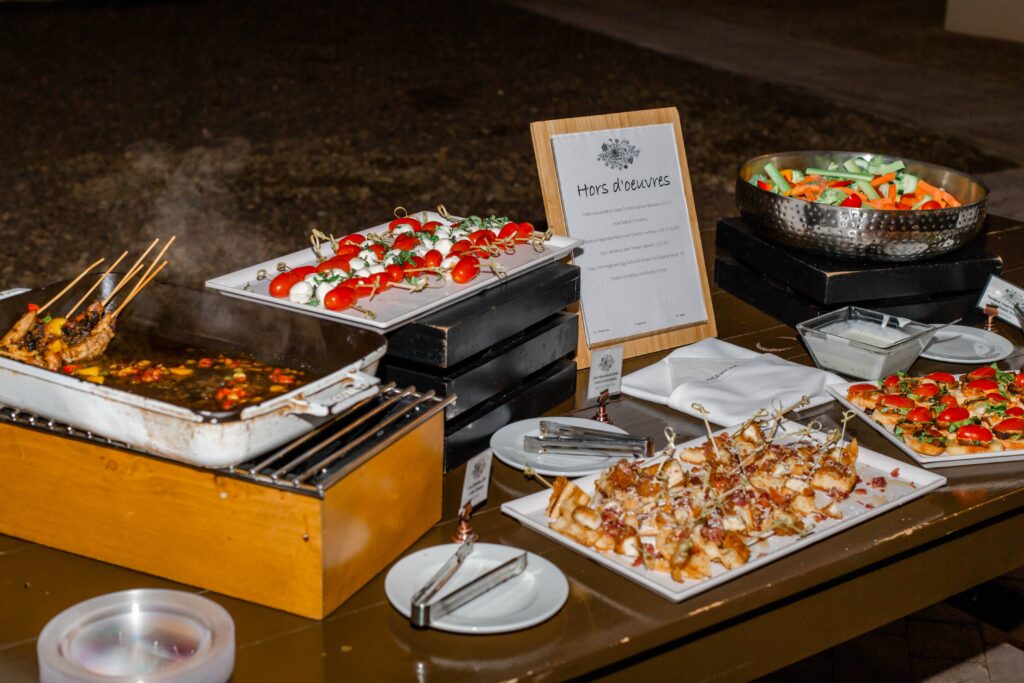
Step 5.
Choose the menu: Decide on a menu that meets the dietary needs and preferences of your guests and fits within your budget.
When choosing the menu, consider any dietary restrictions or allergies of your guests and offer options to accommodate them. Also, take into account the time of day and formality of the event when selecting dishes. If you’re working with a caterer, don’t be afraid to ask for samples or tastings before making a final decision. It’s also a good idea to consider any cultural or traditional foods that may be important to include.
Step 6.
Consider entertainment: Plan for entertainment such as live music or games to keep guests entertained during the dinner.
Entertainment can add an extra element of fun and help break the ice among guests who may not know each other well. Consider the type of entertainment that matches the desired atmosphere and tone of the event. It can range from live music to games, photo booths, or even a DJ. Ensure that the entertainment fits within the budget and that all necessary arrangements, such as equipment and sound systems, are made in advance.
Step 7.
Send out invitations: Send out invitations well in advance.
Invitations should be sent out at least 4-6 weeks before the event to allow guests sufficient time to make travel arrangements, if necessary. Be clear and concise in the invitation regarding the details of the event, such as the date, time, location, dress code, and RSVP deadline. Make sure to include a way for guests to RSVP, whether it’s by phone, email, or through a wedding website. Keep a detailed record of RSVPs to ensure an accurate headcount for the venue and caterer.
Step 8.
Confirm details with vendors: Confirm all the details with the venue, caterer, and any other vendors to ensure that everything runs smoothly on the day of the event.
This includes finalizing the menu, decor, setup, and timeline for the event. Also, make sure to confirm any additional details such as the payment process, gratuity, and any special requests. It’s important to have a clear understanding of the terms and conditions for each vendor, including any restrictions or rules for the venue. Communication with vendors is key to ensuring that everything runs smoothly on the day of the event. It’s also a good idea to schedule a final walk-through or meeting with the vendors a few days before the event to confirm all details and address any last-minute concerns.


